DIY Hiking Sticks: Craft Activity for Kids
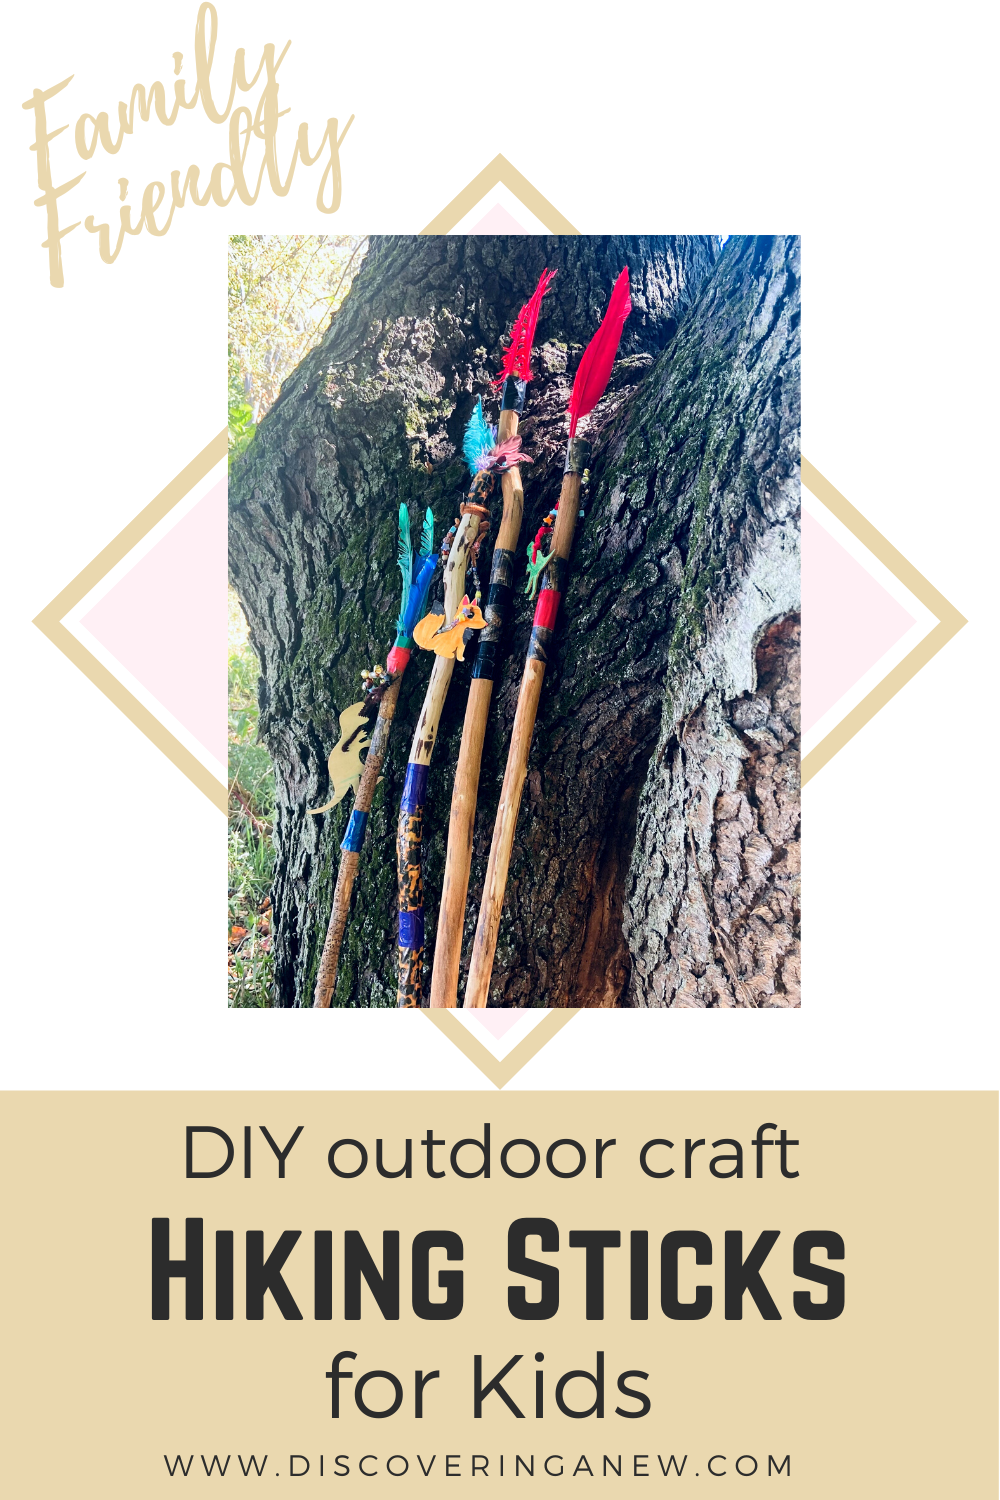
Looking for a great outdoor camping craft for your kids? Decorate a hiking stick to take on your next hiking adventure. This activity is family friendly and almost any age can enjoy creating these personalized walking sticks. Wondering why people use hiking sticks while on trails?
Some of the main purposes for utilizing a hiking stick include the following: giving you additional stability on uneven terrain, gaging the depth of puddles, providing extra aid when crossing a log or creek and an extra push when going uphill.
When I completed the Rim to Rim hike of the Grand Canyon with my two friends, I had trained for nearly 6 months. This extreme feat included a distance of 24 miles and elevation changes of over 13,000 feet. My trekking poles, similar concept as a hiking stick, were an invaluable asset, especially on the last 3 miles.

Whether you’re hiking long distance or just a few miles on nature trails, everyone could benefit from a hiking stick. Plus, let’s be honest, there is just something that makes you feel like a serious hiker when you have a trusty walking stick.
Another benefit is that hiking sticks allow children to interact with nature and use their imaginations. My children love using their hiking sticks for numerous things including riding an imaginary horse, poking at rotting logs, pulling someone up a hill, measuring the depth of puddles, helping balance precariously on logs or as an assist when crossing creeks.
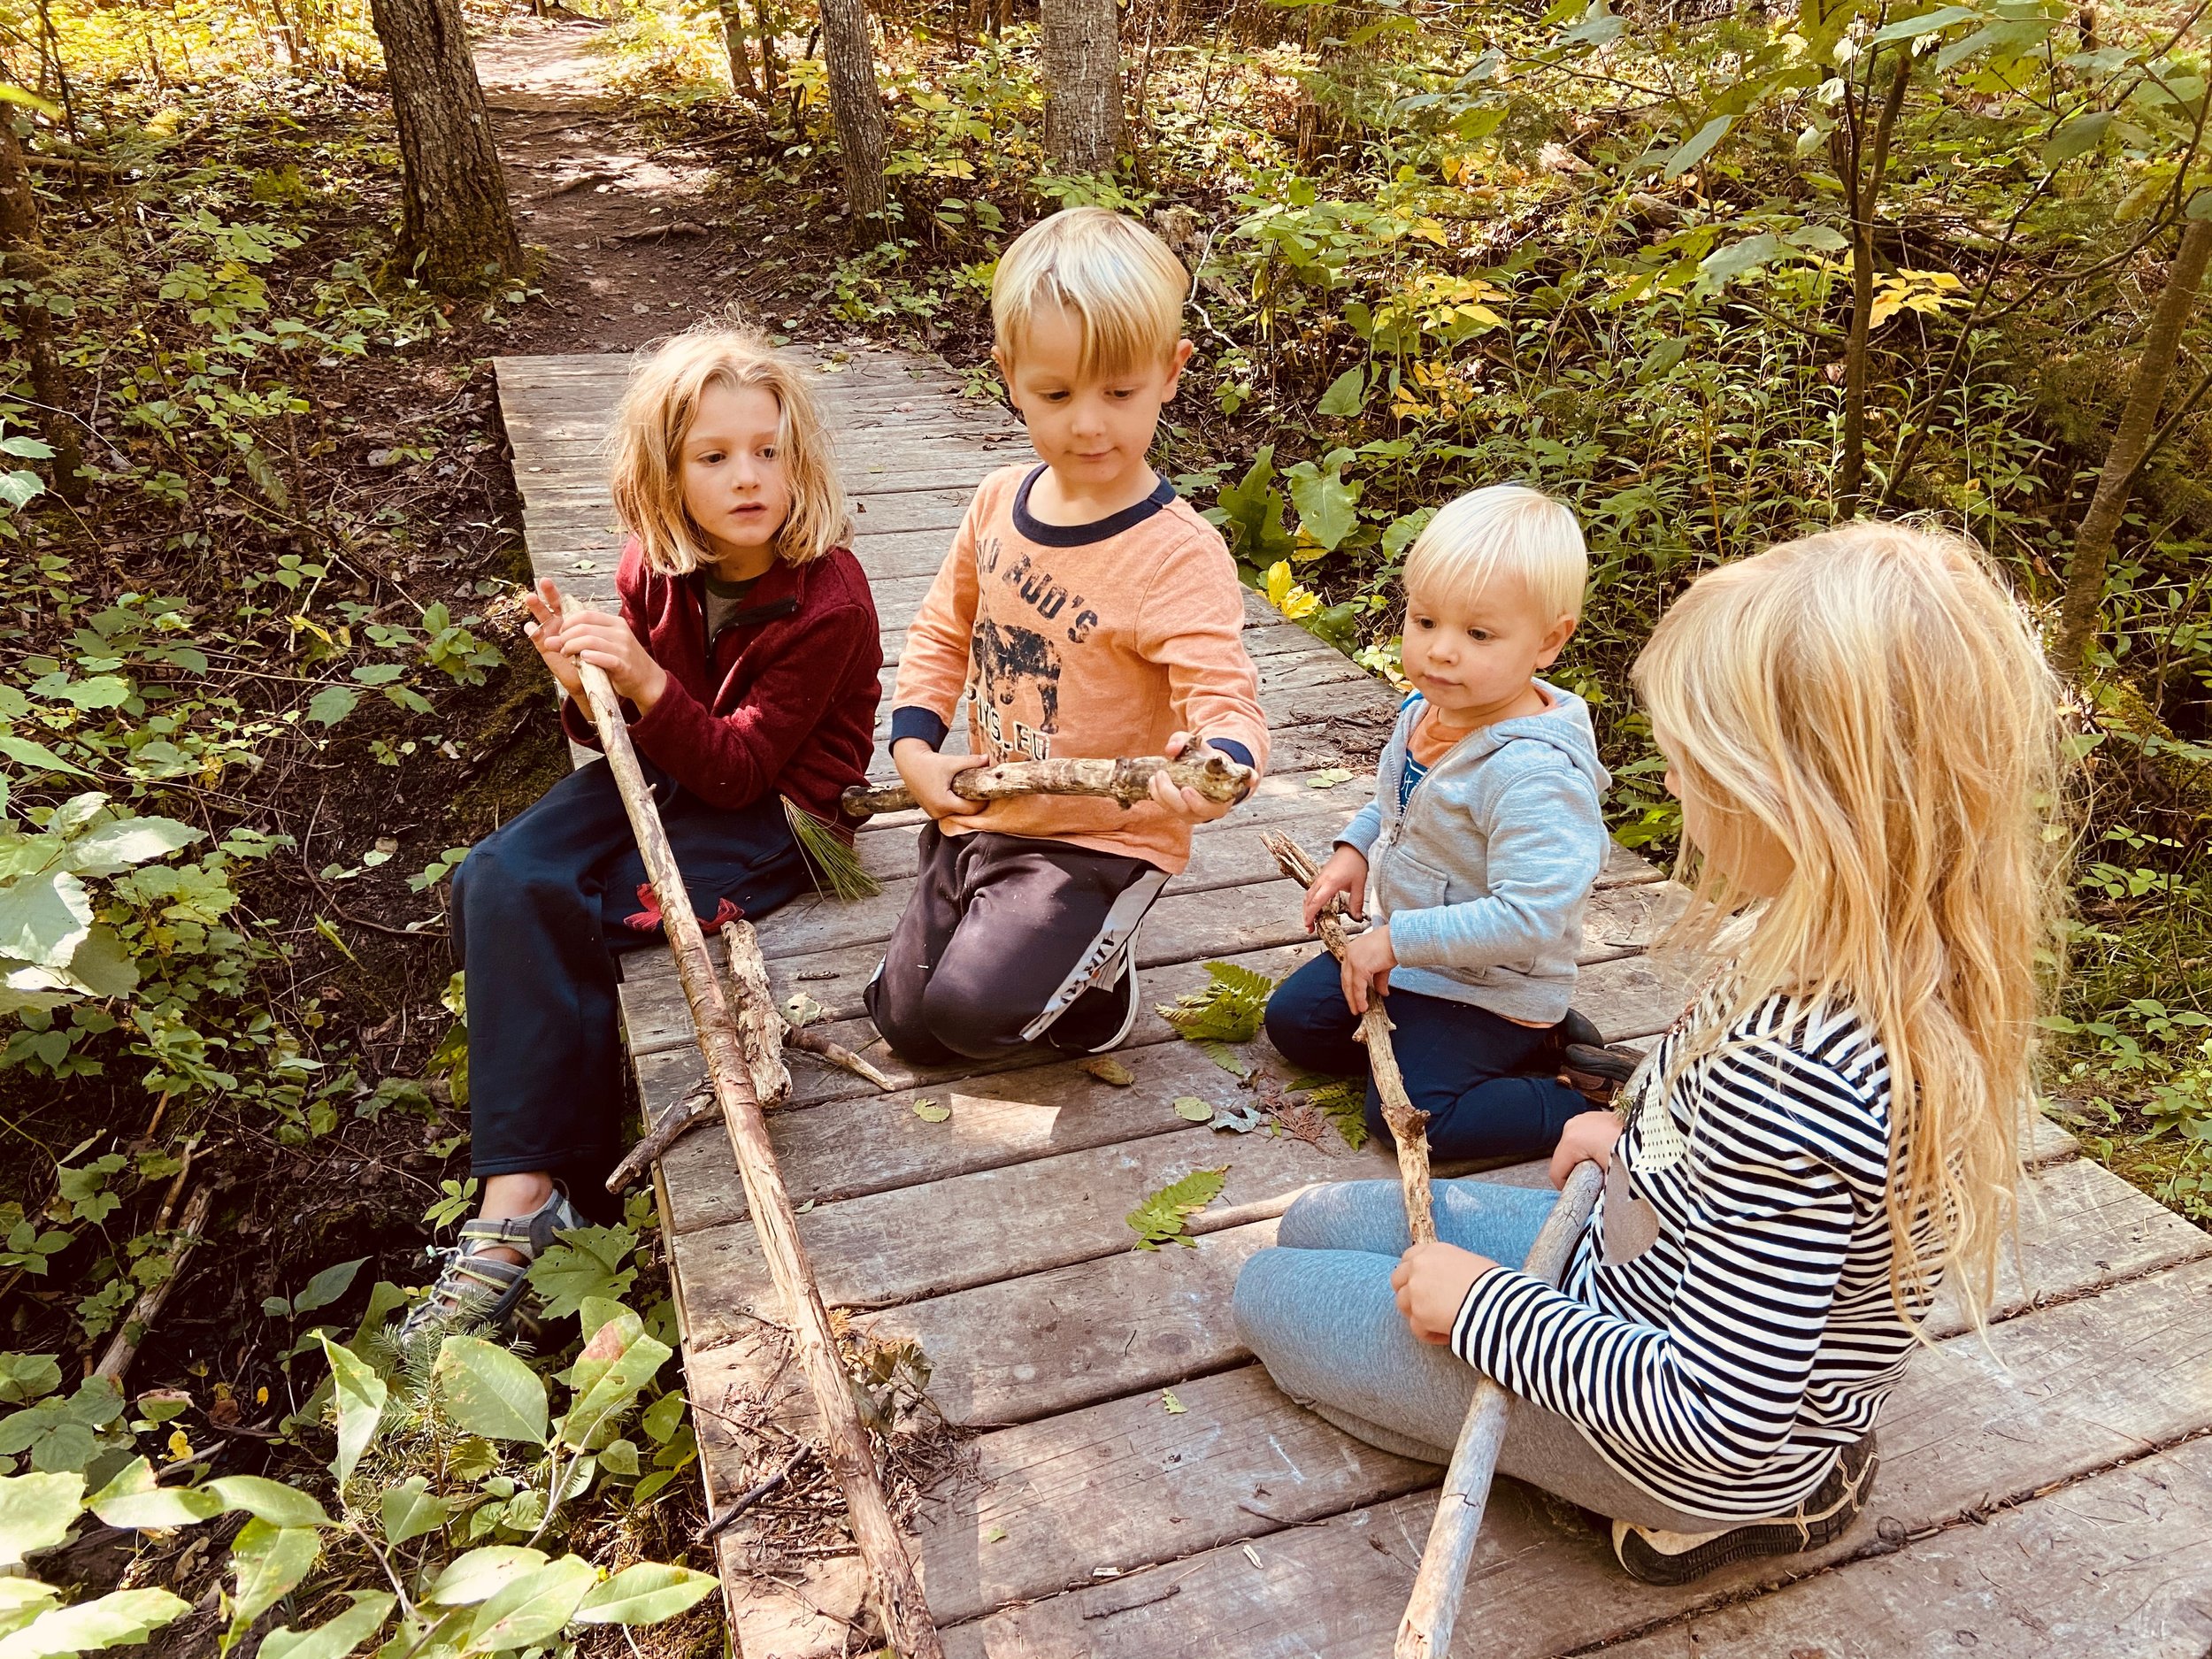
So now that you’re convinced why you need a hiking stick, the next step is to find one. I think the initial search for the perfect sized stick is one of the best parts. Keep your eyes peeled the next time you’re outside for a sturdy stick about shoulder height or a bit taller. Make sure there are no bugs or rotten parts. Then gather together these supplies to personalize your stick.

Supplies Needed
Hiking Stick
Sander or sand paper
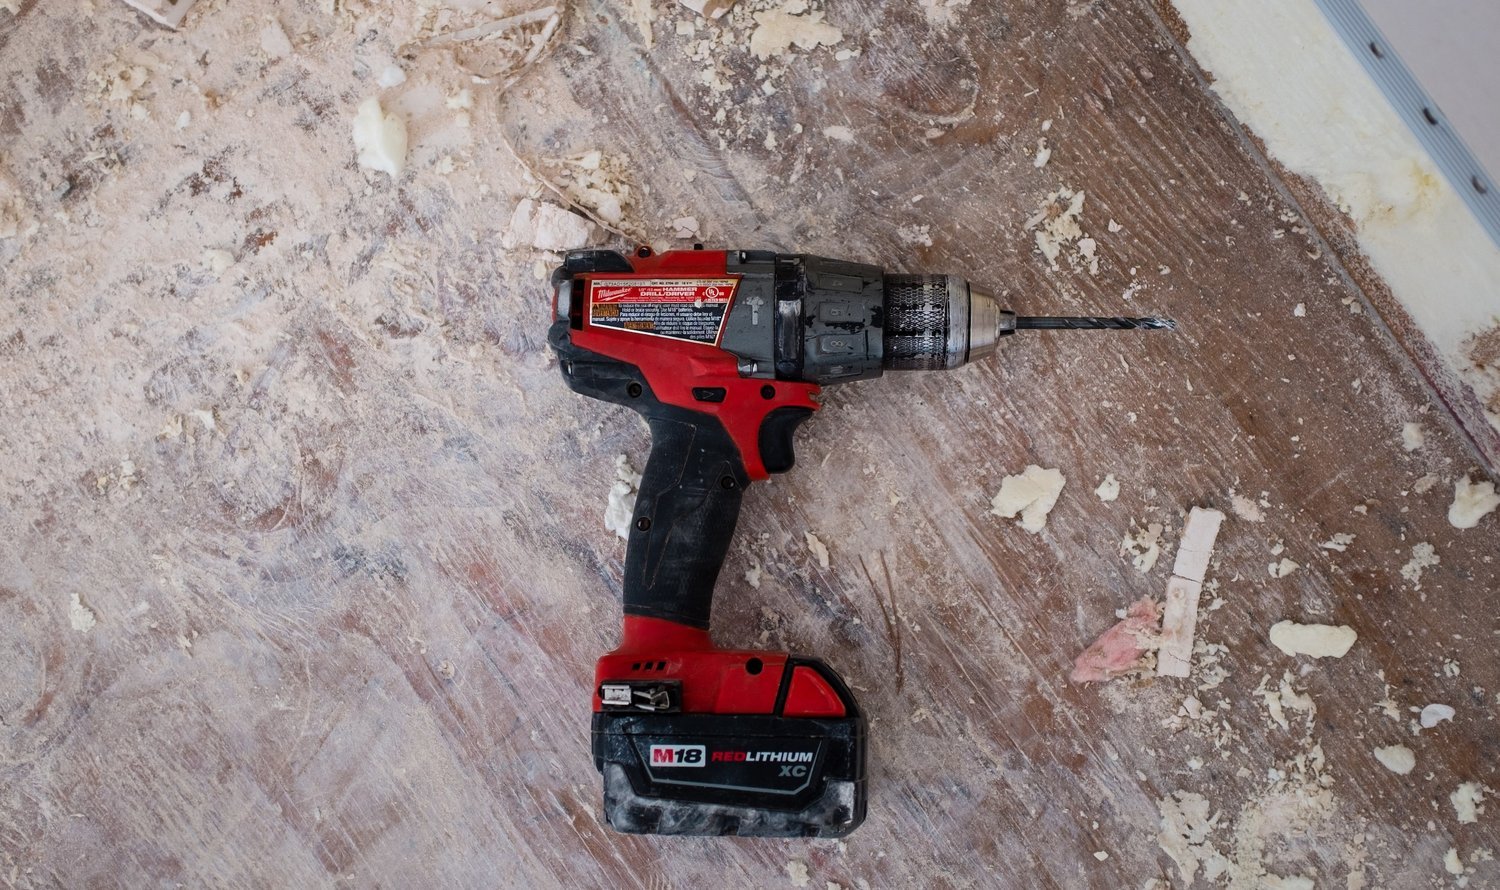
Power Drill (optional)
Decorative Materials (variety)
Feathers
Beads
Twine
Pipe cleaner
Colored Duct Tape
Bells
Markers

Once you’ve gathered up all your supplies follow these steps to customize your walking stick.

Steps
1. First locate a hiking stick that is approximately your height.
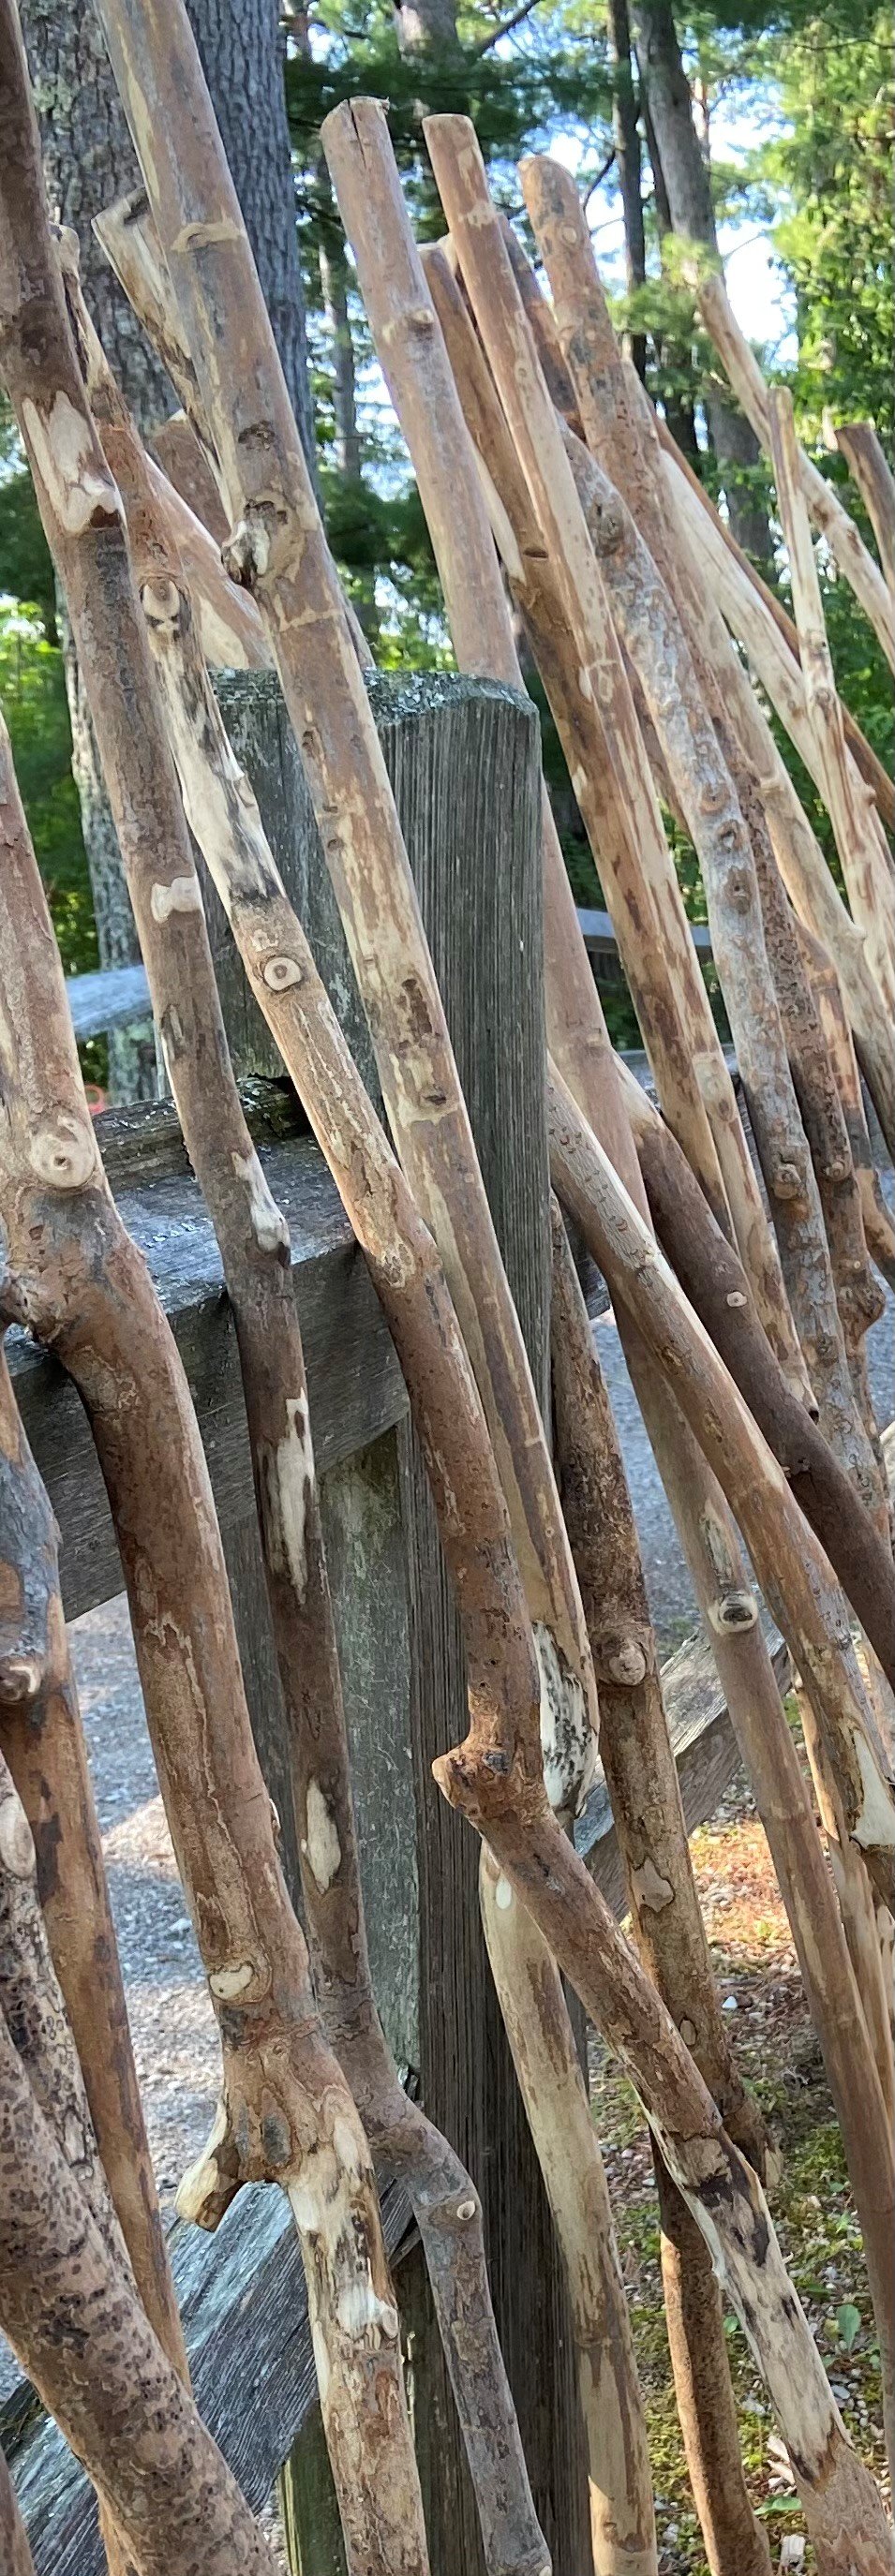
2. Peel off the bark
3. Sand wood until it is smooth.
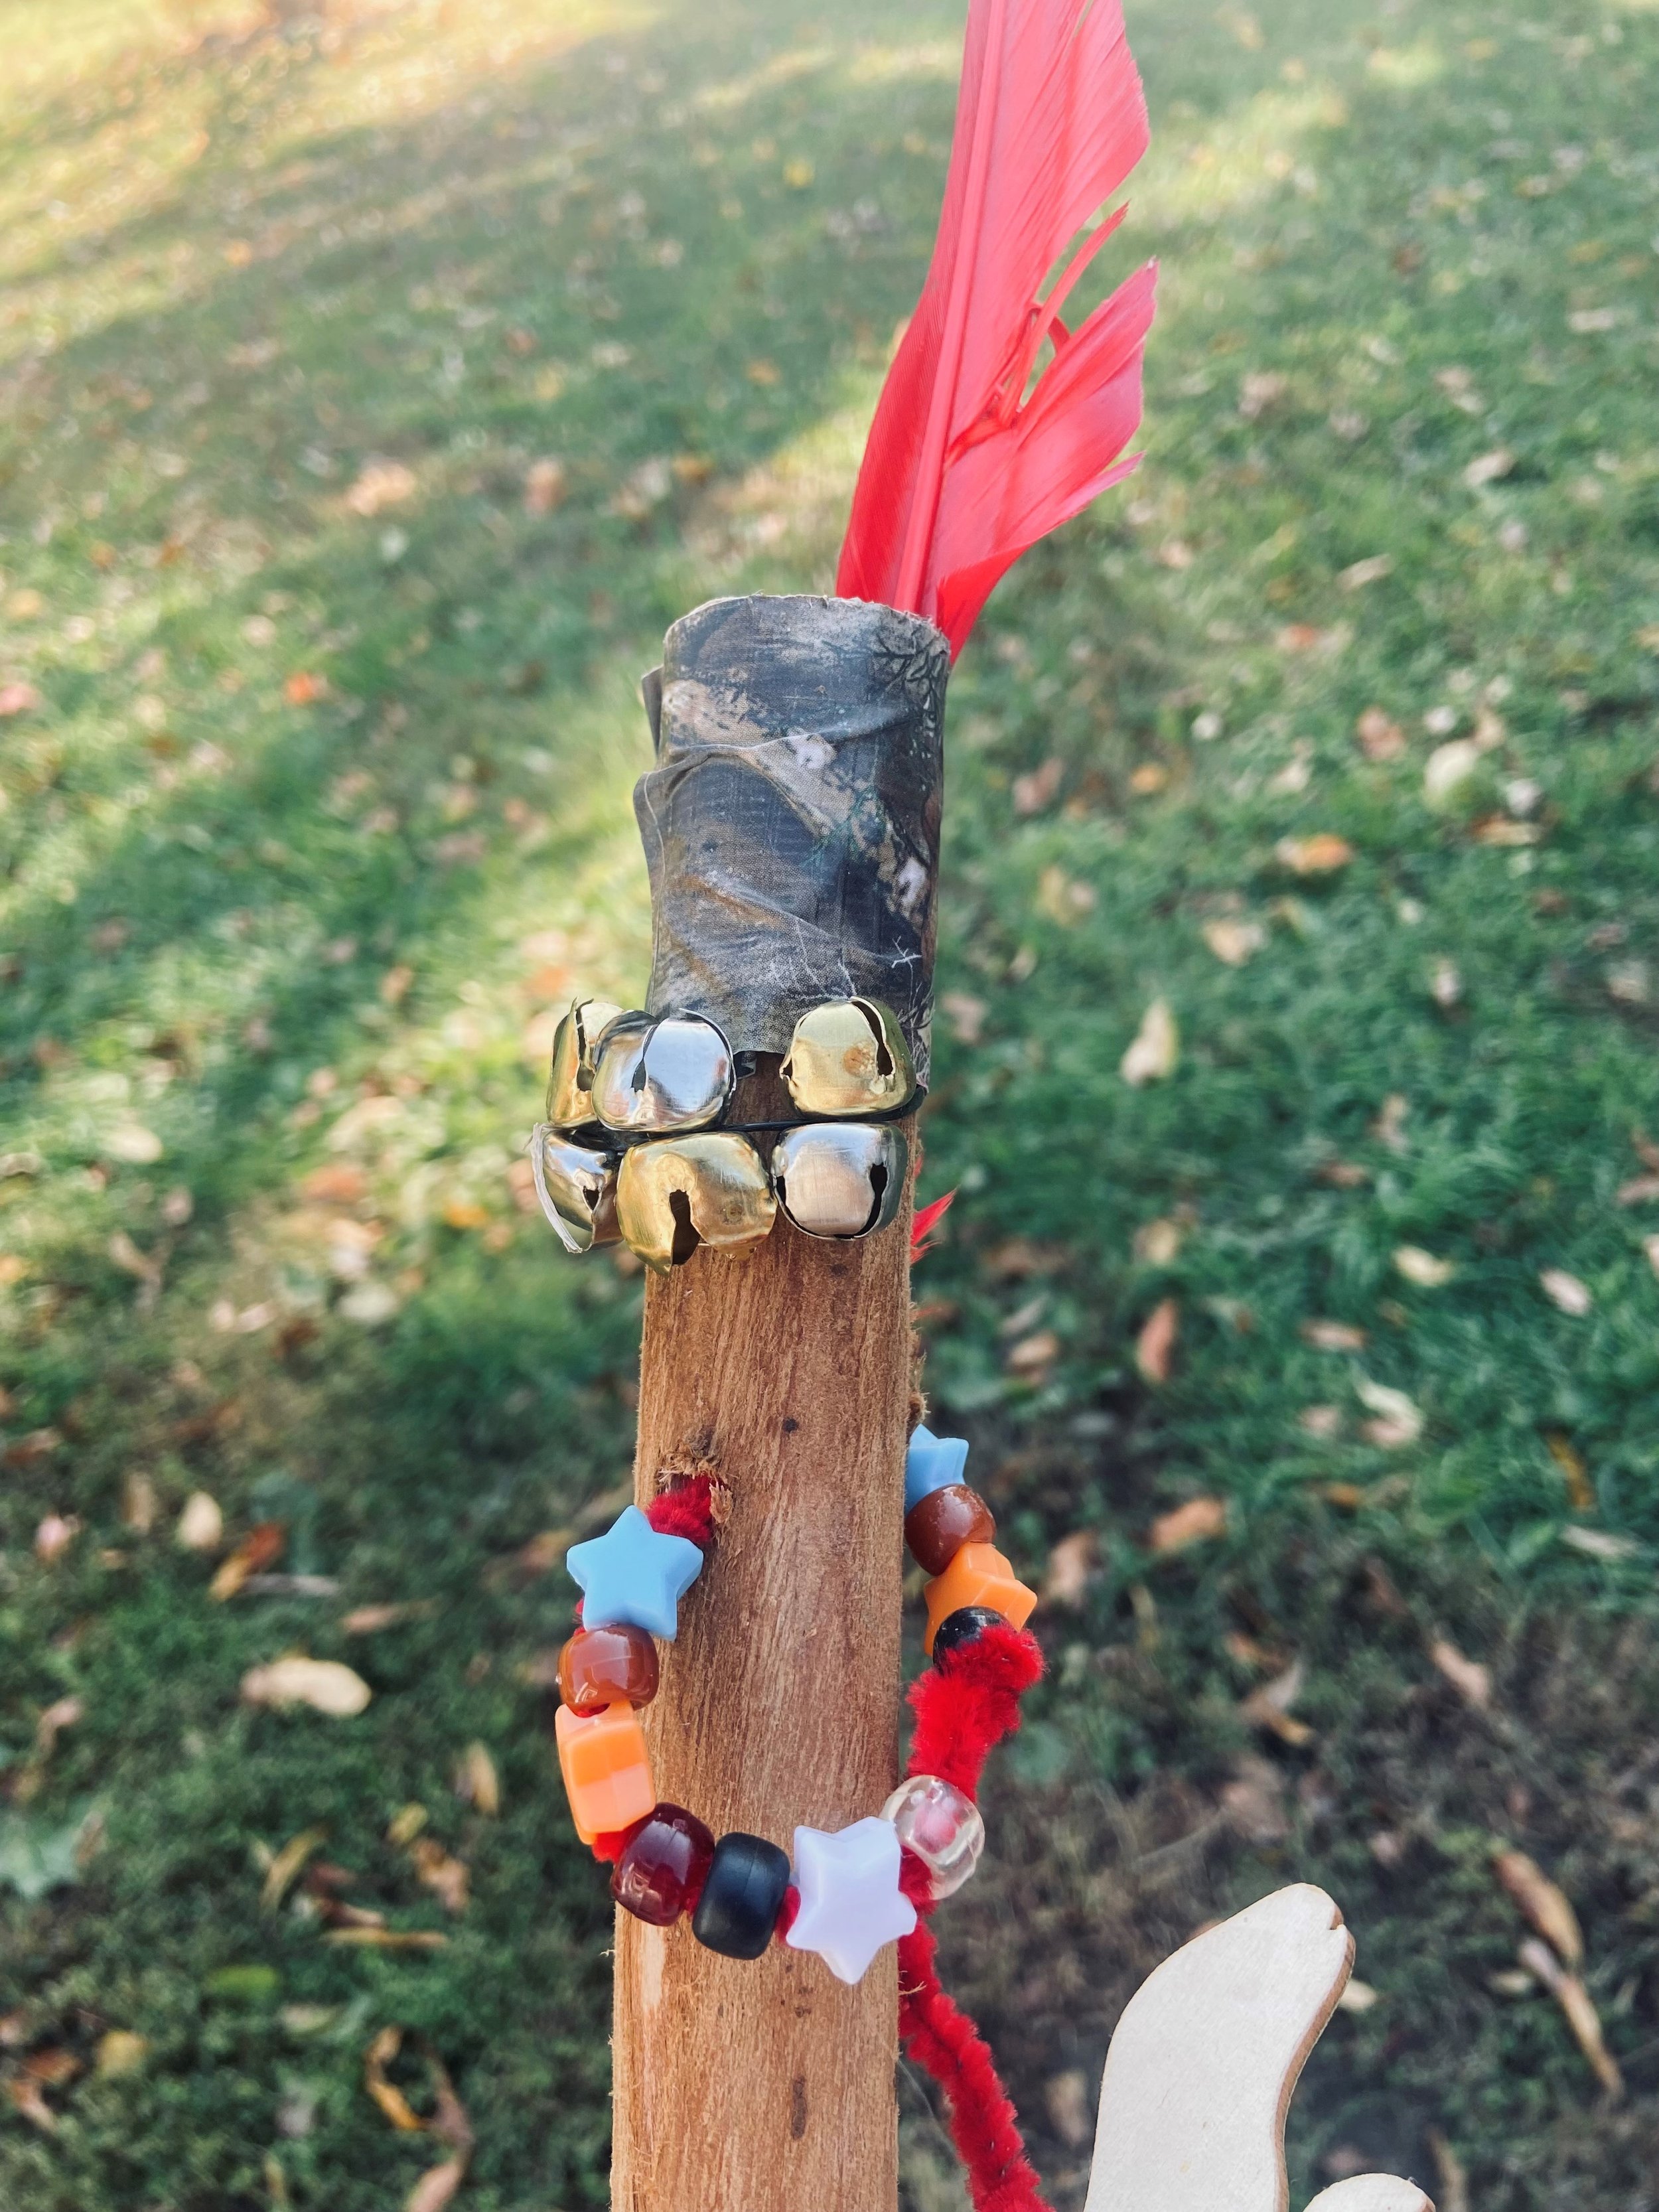
4. Decorate with feathers, duct tape, markers etc.
5. If desired, drill a hole near the top to attach twine or pipe cleaners which you string with beads, bells, or decorative items. Utilize the colored or pattern duct tape to attach feathers and other decorative materials.
Want to incorporate some more outdoor activities to learn gratitude, here are 5 Nature Inspired Gratitude Activities for Kids.
Hope your personalized hiking sticks take you on some new adventures!


Lantern Lit Night Hikes are happening across Michigan this winter! This Michigan Winter Hiking Guide for the 2025–2026 season includes a detailed map to help you plan your adventure. Hike, ski, or snowshoe along glowing trails illuminated by lantern light as you experience the beauty of Michigan after dark. Michigan State Parks, recreation areas, and nature centers are hosting these magical night hikes, many featuring cozy campfires to warm up afterward.